 Posted on
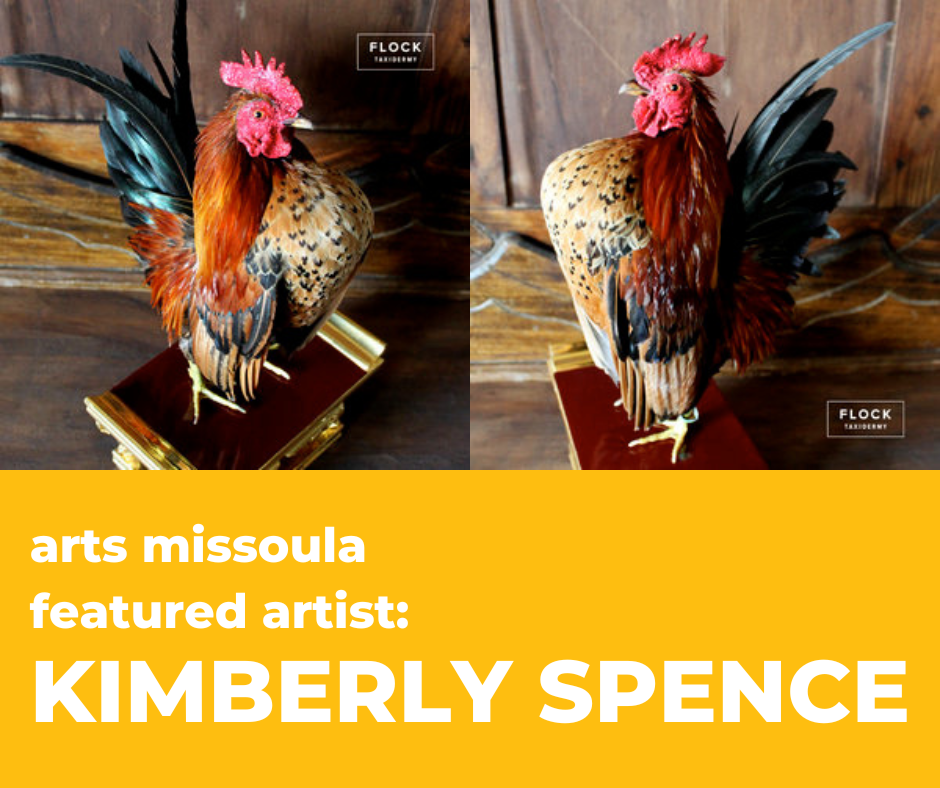
Leo, a worlds smallest rooster with the world’s best high step. So he arrived one chilly morning, carefully packaged and still frozen. Before meeting Leo, I had knowledge about the species of ayam, Serama. That’s the wonderful aspect of working with birds…there are so many species to learn about! Maybe not as many as insects and fungi, but enough to keep one busy their whole lifetime.
As I folded back the flaps of cardboard and lifted open the styrofoam lid…the most handsome, compact Rooster revealed himself through his smoky plastic windscreen. My fingers pressed down on him through the ziploc bags, still frozen cold. Good news!
He will be a challenge… I wasted no time and jumped in the river. Everything flows, every new technique to be learned is upstream. I researched on how to cast Leo’s wattle, comb and skull. I found no source online to describe such a casting process in detail enough to begin with confidence. I took what scraps I could find from taxidermy.net and decided to go through with trying it myself. Sure, I could have had the all skilled, award winning Taxidermist, Tony Finazzo cast Leo’s head for me…but I wanted to have the experience all to myself with Leo. I get close to my bird friends, especially former pets who I have a glimpse into their true past.
Leo was hatched from an egg and lived a full life with Serama.mama and her flock. Born an American Serama Ayam. The smallest species of chicken in the world, with some Serama hens weighing only 4-6 ounces. Leo is actually on the “big” size. Class C. I’m most honored to be preserving his valiant samurai spirit. Let a samurai affirmation remind us, “If you embark on an uncharted path, infinite secrets will appear at the end.”
I washed Leo and prepared his skin for mounting. Now the casting part. I chose to cast his head because it would be prone to shrinking after a couple years and would be a tasty treat for insects to bite into if found. In Taxidermy there are many different ways to get the same result but I weighed the pros and cons of such options before deciding to cast it.
I carefully skinned out his skull with attached wattle and comb, injected the fleshy bits with water to plump, pinned, inserted eyes and froze overnight. Next, I took a wood board with a 6″ diameter, 12″ length of PVC pipe cut in halves and secured it to the board with hot glue. Then I found two rubber bands and placed around the PVC halves to create a watertight seal. I placed a screw in the center of the diameter of where the PVC pipe would attach to the board and placed the PVC back over onto the board. Hot glued seams and placed rooster head righted up, mixed silicone, then poured into the PVC pipe until covering the rooster head with about .5″ above the wattle. Let the silicone cure for 4 hours in 60 degrees indoors.
Next, remove the rubber bands around the PVC pipe and open the two halves. Using a ruler mark the centerline on the top of your silicone cylinder with a sharpie. Take an exacto knife and slice carefully in half, using the sharpie line for a guide. Take out your rooster head and wash silicone mold out with cold water. Let mold air dry for a couple of days.
Next, place your glass eyes inside your mold where they belong using pins to hold in place. Rubber band your two halves of silicone mold back together and set on level surface with pour spout on top. Mix your two part resin, and pour quickly. Place your finger over the pour spout while picking up your mold and rolling slowly as well as turning upside down to ensure coating of your mold in all areas. Set mold back down on level surface with pour spout on top and wait for the resin to cure.
Take the rubberbands off your mold and remove cast head. It may take a couple tries to get a good casting. It took me 4 times of trial and error. You may have to plastic putty some areas of your cast head if they are not coming out thanks to defects in your mother mold. I had areas on the waddle and comb, as well as a couple air bubbles along the eye ring to plastic putty.
Let your plastic putty dry and sand if needed. Then paint your head and I decided to use Leo’s actual beak. So I glued that back on. Then coated entire head with a lacquer for protection. 2 coats, let dry overnight.
Next, I put together Leo’s body and pose. I let dry for a day then attached Leo’s head with an extended cure time super glue.
I hope this helps you if you’re curious how to create a cast head for your Taxidermy bird.
Watch the first video of an 8-part series documenting the process below.
ABOUT THE AUTHOR: Kimberly Spence is the founder and artist behind Flock Taxidermy. She was taught the skilled craft by a Taxidermist on staff at The Natural History Museum of Los Angeles County. Kimberly takes time to quietly listen to every bird’s story, while learning, respecting and hoping to connect their great journey with us. You can find her and her work on Instagram here.
Note from Arts Missoula staff: the above blog post was written by Kimberly in 2018 and originally published under the name ‘Serama Samurai’ on her website: flocktaxidermy.com.